How I Make Glaze Test Tiles
October 2020 Update
I've simplified my test tiles. Now, the test tiles themselves are just simple slabs of clay. But I make test tile holders out of a strong clay.
Flat, Square Test Tiles
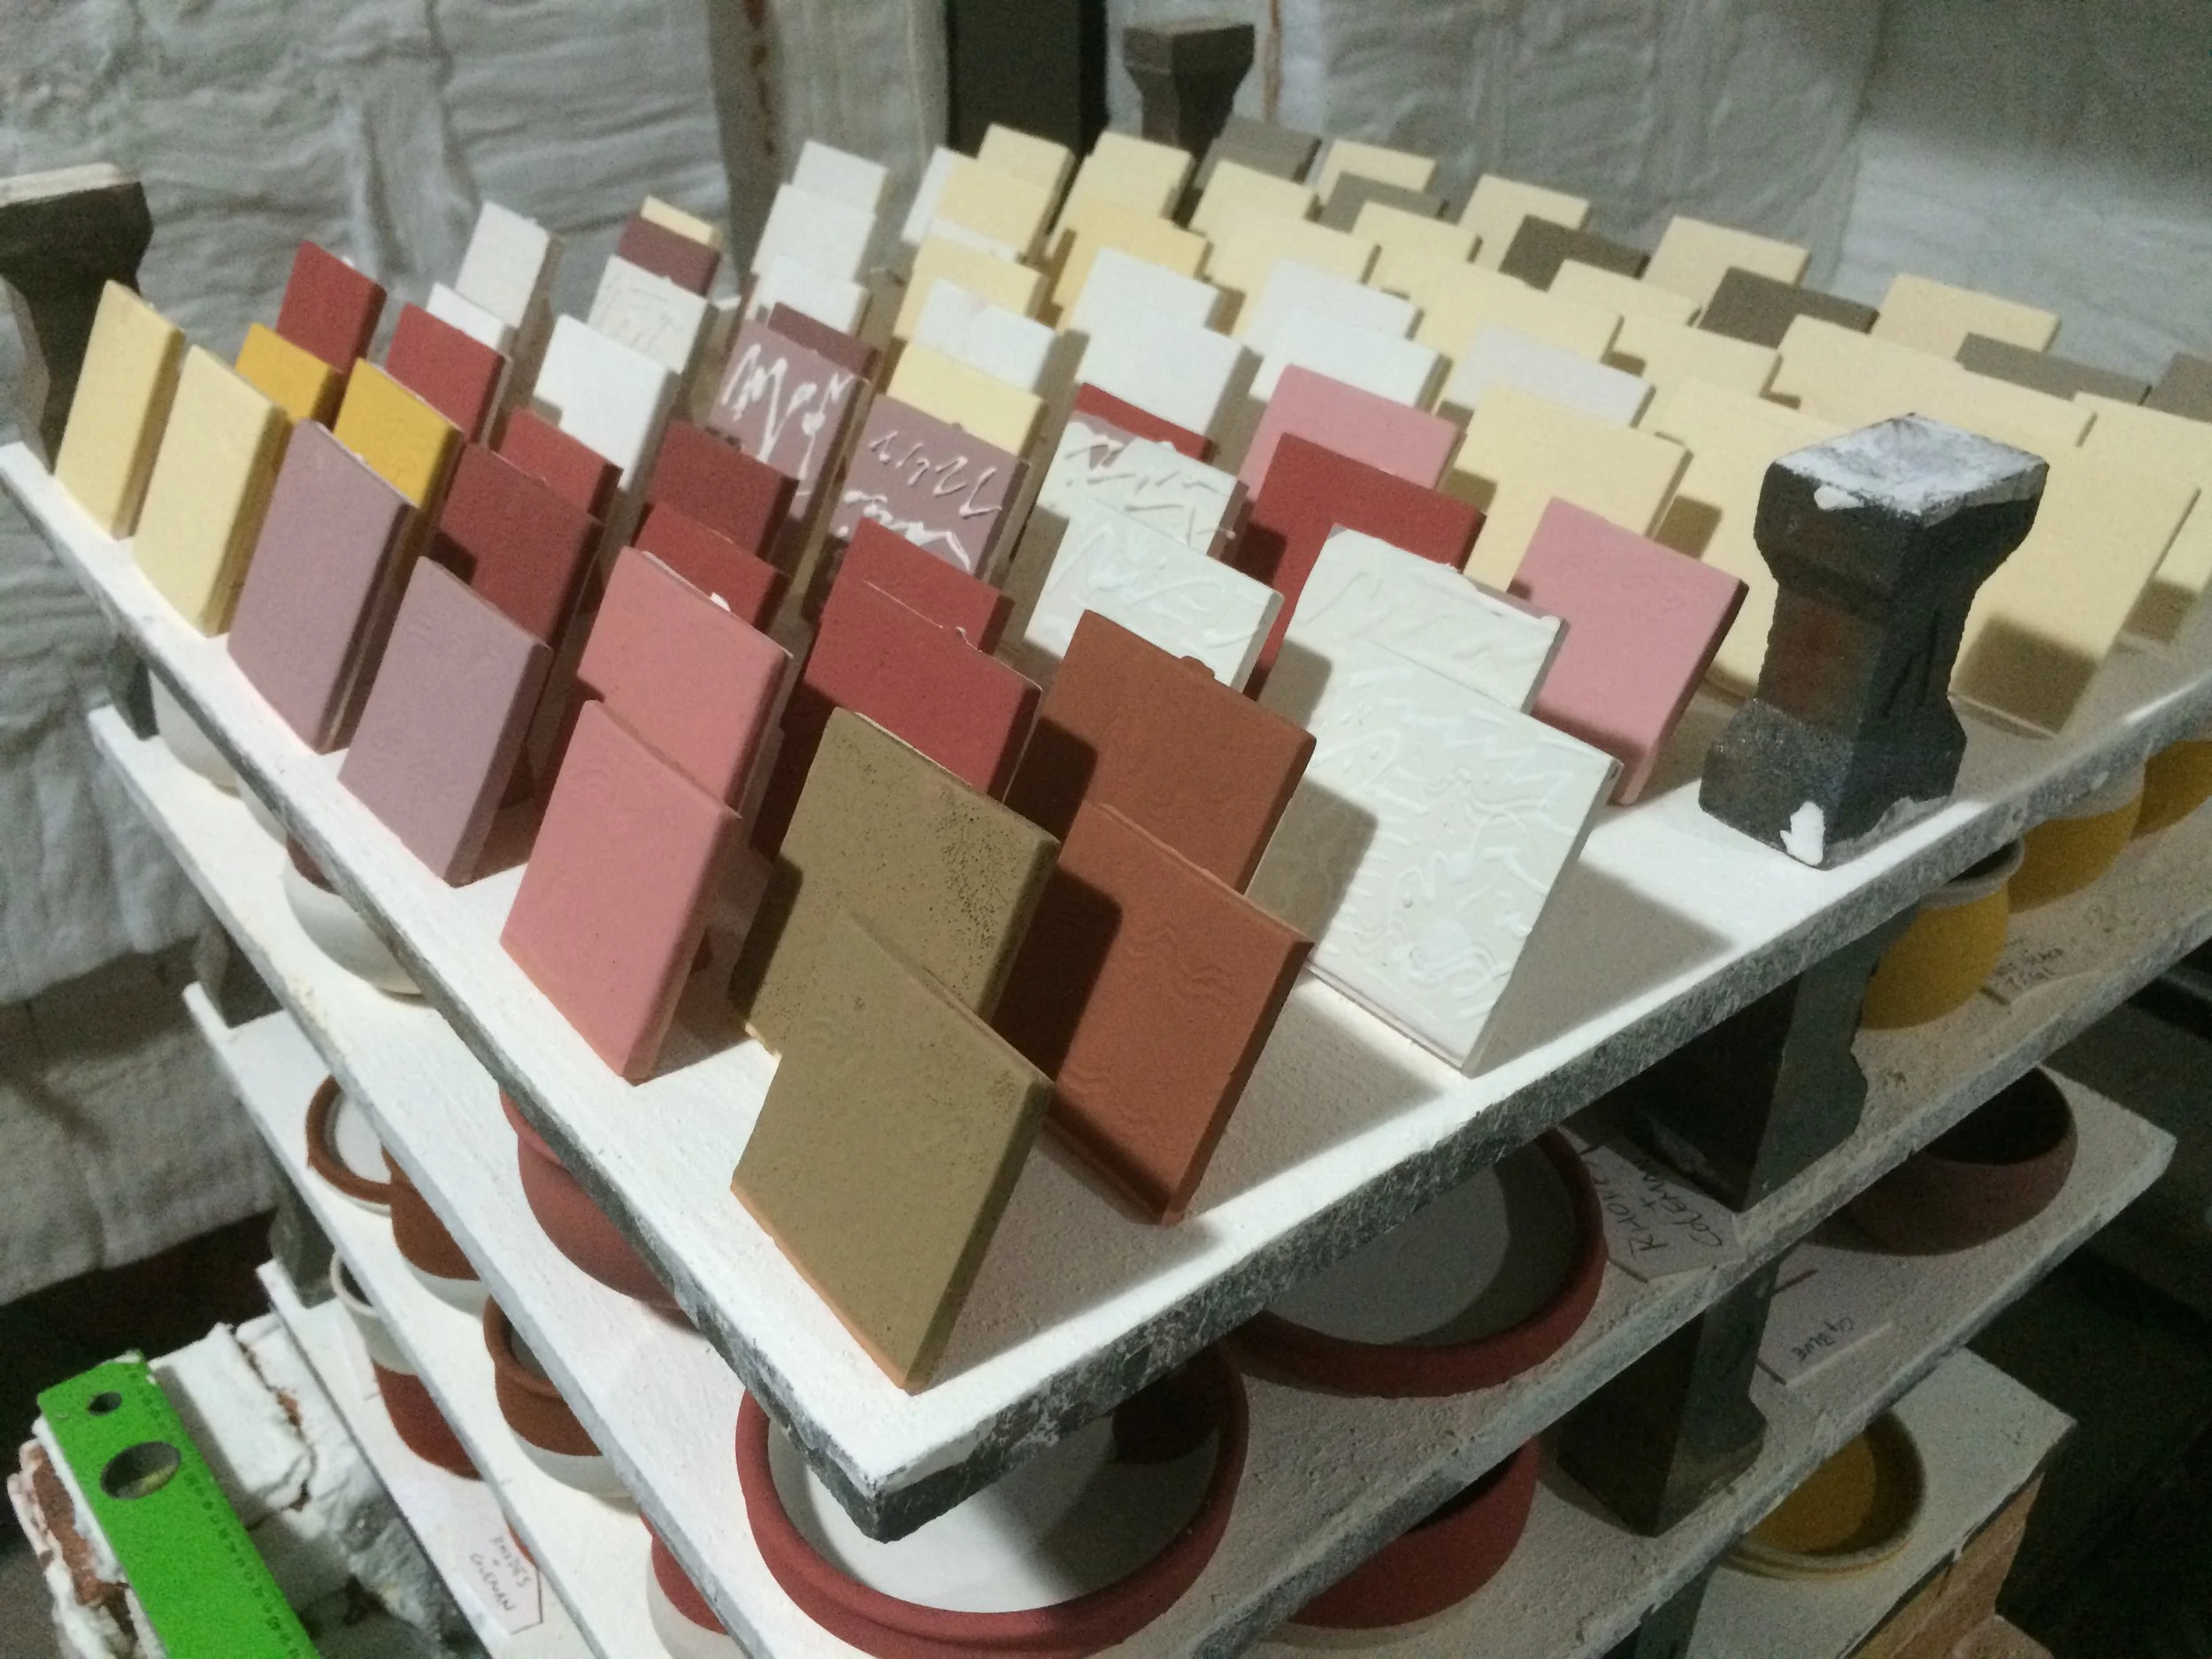
Flat test tiles cut from slabs are ideal. You can easily make them from any type of clay. No need to turn your clay into slip for casting. They can be easily covered by dipping them into just 20ml of glaze. They have a large surface area and photograph well. I make my test tiles by rolling out a slab of clay. Then I use a fork to make the texture. Finally I cut the slab into squares of 5x6cm or 6x6cm.
The only drawback of flat test tiles is that they don't show off surface glossiness very well. So I have added an extra step: Pressing the tile down into firm foam to create curved edges. With slightly curved edges, it's much easier to get reflections in the photo to show gloss.

A slab cut into 5x6cm test tiles.

Press the test tile into firm foam.

Press the test tile into firm foam.

Test tile now has a curved edge.

The slightly curved edges help show off surface gloss.
Test Tile Holders
Ideally, glaze tests are not fired flat but rather upright at a slight angle so the glaze has a chance to melt downwards. Below you can see how I make test tile holders using a strong, groggy, high-fire clay body (in this case, Soldate 60). These holders are covered with kiln wash and can be reused. Given their shape, they can be "packed" very tightly.


Material Melt Test Tiles
One fun ceramic chemistry project is to melt various materials at different temperatures. There are two types of "melt tests"- the simplest being just throwing a material into a small dish and firing it, the more advanced version being making a ball of the material and melting it on a sloped surface and recording the degree of melt.
To make simple melt test tiles, I use this easy technique: Roll out a slab of high-fire clay, and cut into 6x6cm squares. Using a piece of high-density foam and a 4x4cm piece of wood, quickly press each square into the foam, creating a shallow dish. Once bisqued, these dishes can hold any type of crushed material for your next firing.

6cm x 6cm clay slab & 4cm x 4cm wood

Place wood in center of slab

Press down quickly and with some force

The dish is now ready

Easily create hundreds of dishes in a few hours
Test Tiles: Old Method
Below is my old method for making test tiles. I put a little extra time into making each test tile self-supporting, as I often stuck tests into other people's kilns.
I’ve tried all manner of methods for making test tiles- thrown, extruded, and slab. Each type has advantages, but I’ve finally come to the safest, most economical and useful method for my needs.
Assuming you have a fast way to make slabs, using this technique you can easily make a couple hundred test tiles in an afternoon.
Hand-rolled slabs work fine. The irregular edges can be saved and used to make the supporting triangles. To attach the supports I use dry clay trimmings and pure vinegar. The triangles are dipped into the vinegar slip for about two seconds, then wiggled into place on the test tile until the two slabs are firmly joined. (I have tried this with all of my clays, from porcelains to stonewares, without problems. However, your clay may differ.)
Just after joining, the test tiles should be covered and dried slowly for the first day or so. You may notice some cracking along the join line, but the join should be strong enough to last through bisque and glaze firings.

Edges of hand-rolled slab can be used for support triangles

Joining test tile supports using vinegar slip.
If you have casting slip, the fastest way that I have found to make test tiles is to make a slipcast slab using a large, flat plaster table. Supports are joined to tiles using the same casting slip.

Cutting a slipcast porcelain slab

A fork is used for texturing the test tiles.

Type of clay is stamped onto back of each test tile
These test tiles will not fall over (especially important as I often put tests in public kilns). They can be stacked very closely in the kiln, and the height can be varied by choosing either the long or short end of the triangular support. Because they are flat, they require less glaze for coverage (handy when using very small batches of material) but also show more area of glaze than an extruded column. The hole in the base allows the tile to be hung on a glaze bucket or on a display. I stamp the back of the tile with a code for the type of clay, and there is ample space to write information about the test using an underglaze pencil.

Test tile in upright 60 degree position.

Test tile in 30 degree position.
Test tiles can be loaded quite close together in the kiln.

Dipping in 20ml of glaze

Right side double-dipped

Full details written with underglaze pencil and permanent marker

Taking photos with a styrofoam support
The tiles should be quite thick in order to better absorb and support thicker layers of glaze.
After dipping the face of the tile into a glaze, I dip one side (not the top) again in order to see different thicknesses. (Double-dipping the top of the tile often results in the thicker glaze running down into the thinner area, sometimes resulting in a completely even coat after firing.)
Using flat, square tiles I can dip twice while only using 20ml of glaze. This is especially useful when doing triaxials or biaxials using the syringe method.
The back of the tile has a lot of space for writing glaze information. Before firing use an underglaze pencil (I use Amaco Black Pencils), after firing a permanent marker can be used to record the date and temperature.
Another advantage of these square tiles is that they photograph very well.
For my purposes, the best size for a test tile is 6cm or 7cm square. This size is large enough to get a feel for what the glaze looks like, while small enough to be covered by only 20ml of mixed glaze (including a second dip).
Conveniently, the supporting triangles are half the width of the tile, which allows for first cutting the slab into 6cm or 7cm columns.
I know it seems really anal, but this cutting pattern saves clay and ensures the tiles all rest at the same angle, allowing for more accurate comparisons and tighter packing in the kiln.

Test tile dimensions